As any pool owner will tell you, it’s a joy to have a pool in your own home, but it’s also a pain! And part of that pain is cleaning and maintaining it. But you can make it easy on yourself with a pool cover. But do you know how to install one?
Installing a pool cover correctly is essential for keeping your pool safe, clean, and well-maintained during the off-season. No matter which cover you have, proper pool cover installation ensures pool durability.
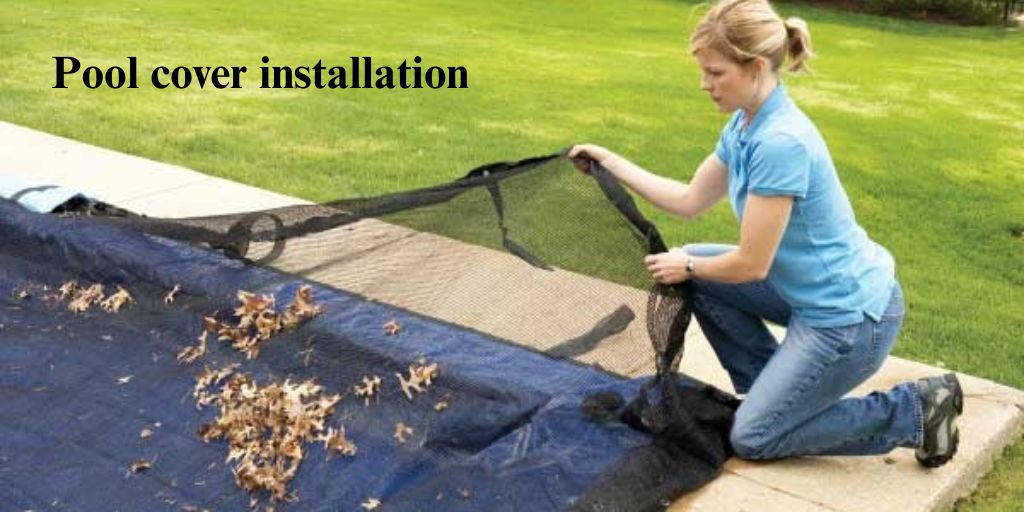
Here’s how to make pool cover installation easy for you.
Step 1: Selecting the Right Pool Cover
The first step in the installation process is choosing a cover that fits your pool’s dimensions and needs. When ordering, always base your selection on the actual pool size. For example, if your pool is 16×32 feet, the manufacturer will design the cover slightly larger to accommodate necessary overlap.
Be sure to confirm the size listed on the package before opening it to avoid installation issues.
Step 2: Preparing for Installation
Before placing the cover, remove any ladders, handrails, or other obstructions. If your pool has permanent fixtures that cannot be removed, a custom pool cover may be necessary. Once the area is cleared, thoroughly clean the pool deck to remove debris and dirt that could interfere with the cover’s fit.
Step 3: Unboxing and Inspecting the Cover
Before installation, inspect the packaging for accuracy. Check the label to ensure it matches your pool’s size and the desired material and color. If the specifications are incorrect, stop the process and contact the manufacturer.
Many pool covers come with a quality assurance label, confirming that they have been inspected before shipping.
Step 4: Laying Out the Cover
Unfold the cover carefully and spread it across the pool. Ensure the straps are evenly placed and that the cover extends beyond the pool’s edges. For solid covers, a pump will be necessary to prevent water accumulation. Keep the included storage bag nearby for when the cover is not in use.
Step 5: Securing Anchor Points
Measure and mark the anchor locations. Most pool covers require anchor points around the pool’s perimeter. Measure the appropriate distance and mark where each anchor should go.
Check the manufacturer’s guide for the exact spacing required for your specific cover, then drill the anchor holes. Use a drill with a masonry bit to create holes for the anchors. Keep the area clean by vacuuming the dust and debris from the holes before inserting the anchors.
When installing the anchors, place them into the drilled holes and use a hammer to secure them flush with the pool deck. Attach the provided flanges to complete the anchor installation.
Step 6: Attaching the Cover to Anchors
Once the anchors are in place, start securing the cover by attaching the straps. Use the installation tool to stretch the springs over the anchor rings, and make sure that the cover remains centered by evenly distributing tension.
Adjust straps as needed to keep the cover tight and properly aligned.
Step 7: Final Adjustments and Testing
After all straps are secured, check for any loose areas or uneven tension. Walk around the pool and verify that all anchors are securely fastened. Adjust straps to maintain a smooth and tight fit.
If you are using a solid cover, place the pump at the lowest point to collect rainwater and prevent sagging.
Make Your Pool Last Throughout the Year
Properly installing a pool cover is essential for protecting your pool during the off-season, reducing maintenance, and ensuring safety. Following these steps will help you install your cover securely and efficiently, providing peace of mind until it’s time to reopen your pool.
For more information about pool pumps and above ground pools liners please visit : Recreation Discount Wholesale Inc