
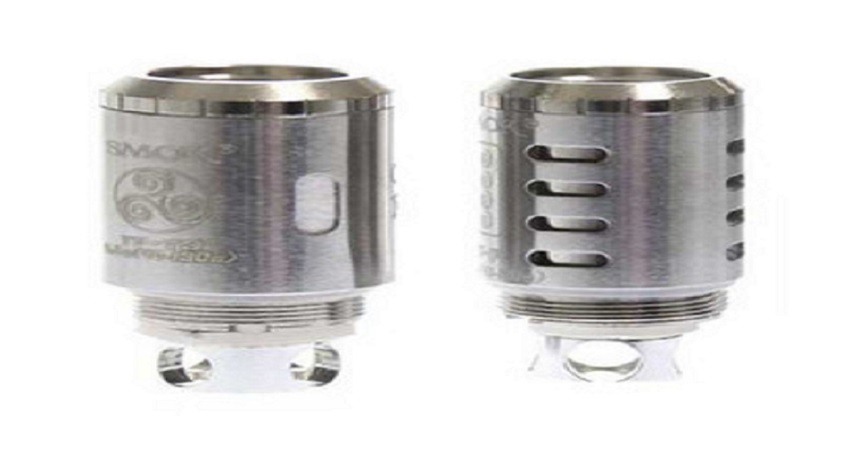
SMOK has established itself as a leading brand in the vaping industry, renowned for its high-quality devices and components. Central to the performance of these devices are the SMOK coils, which play a crucial role in delivering flavor, vapor production, and overall satisfaction.
Whether you’re new to vaping or an experienced user, understanding how to properly replace your SMOK coils is essential for maintaining optimal performance and prolonging the lifespan of your device. In this article, we’ll dive into the details of SMOK coils, how to recognize when they need replacing, and the step-by-step process of swapping them out.
What Are SMOK Coils?
SMOK coils are the replaceable components within SMOK tanks and pod systems responsible for heating the e-liquid and converting it into vapor. These coils consist of a wire or mesh element wrapped around a wicking material, usually made of cotton, that absorbs the e-liquid. When the coil is powered by the device’s battery, it heats up, vaporizing the e-liquid and producing the flavorful clouds that vapers enjoy.
SMOK offers a wide range of coils to suit different vaping styles, from mouth-to-lung (MTL) to direct-to-lung (DTL) vaping. These coils come in various resistances, wattage ranges, and designs, including traditional wire coils and the increasingly popular mesh coils, which offer faster ramp-up times and more even heating.
Signs That Your SMOK Coil Needs Replacing
Coils don’t last forever, and recognizing when it’s time to replace them is crucial to maintaining a quality vaping experience. Here are some signs that indicate your SMOK coil is due for a change:
- Burnt Taste: One of the most obvious signs that your coil needs replacing is a burnt or charred taste when you inhale. This occurs when the wick inside the coil becomes too dry or when the coil has deteriorated over time, leading to a burnt flavor.
- Decreased Flavor: If you notice that your e-liquid doesn’t taste as strong or flavorful as it used to, it could be a sign that your coil is wearing out. Over time, residue from the e-liquid can build up on the coil, muting the flavors.
- Reduced Vapor Production: A noticeable decrease in vapor output is another indicator that your coil may be on its last legs. As the coil degrades, it may struggle to produce the same amount of vapor, even at the same wattage settings.
- Gurgling or Leaking: If your tank starts to gurgle or leak, it could be a sign that the coil is not functioning properly. Worn-out coils may fail to vaporize the e-liquid efficiently, causing excess liquid to accumulate and potentially leak from the tank.
- Longer Draw Time: If you find yourself having to take longer, harder draws to achieve the same vapor production, it’s likely that your coil is no longer performing optimally.
How to Replace Your SMOK Coil
Replacing your SMOK coil is a straightforward process, but doing it correctly is important to ensure a smooth vaping experience. Follow these steps to replace your coil:
Step 1: Disassemble Your Tank or Pod
Start by removing your tank or pod from the device. If you’re using a tank, unscrew the base of the tank to access the coil. For pod systems, you may need to pull out the pod to access the coil.
Step 2: Remove the Old Coil
Gently unscrew or pull out the old coil from the tank or pod. If the coil is stuck, try using a cloth or tissue to get a better grip. Be careful not to damage any other parts of the tank or pod during this process.
Step 3: Prime the New Coil
Before installing the new coil, it’s important to prime it. Priming involves applying a few drops of e-liquid directly onto the exposed cotton of the coil. This helps to saturate the wick and prevents dry hits or burning when you first use the coil.
Step 4: Install the New Coil
Screw or push the new coil into place within the tank or pod. Make sure it’s snug but not overly tight, as over-tightening can damage the coil or the threading of the tank.
Step 5: Reassemble the Tank or Pod
Once the new coil is installed, reassemble your tank or pod. If you’re using a tank, fill it with e-liquid before reattaching it to your device. For pod systems, ensure the pod is securely in place.
Step 6: Let the Coil Soak
After reassembling, allow the coil to soak in the e-liquid for a few minutes. This step ensures that the wick is fully saturated and reduces the risk of dry hits when you start vaping.
Step 7: Start Vaping
Begin by taking a few gentle puffs at a lower wattage than usual to break in the new coil. Gradually increase the wattage to your preferred setting as the coil settles in.
SMOK coils are essential for delivering the flavor and vapor production that vapers crave. By recognizing when your coil needs to be replaced and following the correct steps to do so, you can ensure a consistently enjoyable vaping experience. Proper care and maintenance of your coils not only enhance your vaping sessions but also help you get the most out of your SMOK device. Happy vaping!

